... what a dorky blog title - sorry! :)
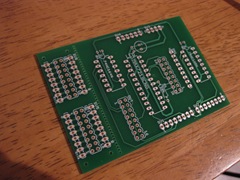
I'm writing all this from the future (no still no hoverboards), I got my shield last week and did a load of work on it but haven't blogged about anything since so this is written in retrospect. Anyways, I got my shield:
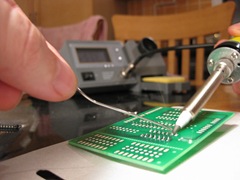
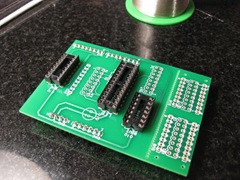
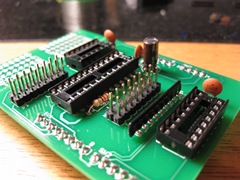
And started to solder it all up with my new temperature controlled soldering iron. It was so worth it to get, I just dial in the temperature I want and don't have to worry about it overheating anymore. Because I can solder and solder without having to take a break for the iron to cool down, the only worry left is having too much fun hallucinating from the solder fumes. First I put on the chip seats (with the dimple in the right place).
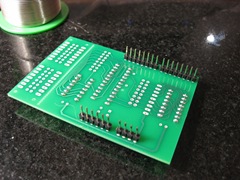
Then the pin headers:
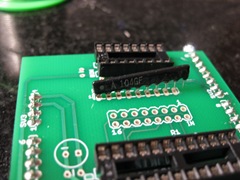
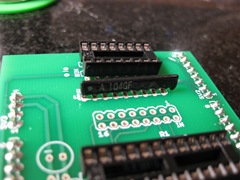
Then the resistor network... shit, it's the wrong size so I just made like a undertaker and cut the leg off so it fits.
Next I put in the 22k resistor (didn't have a 20k) and the capacitors. For mine the cathode (or negative) was the leg with a dot printed above it on the capacitor. The bigger capacitor had a minus sign and a shorter leg to indicate the cathode.
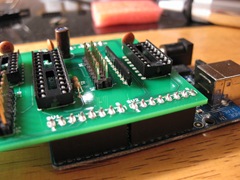
This was all made really really simple with the temperature controlled soldering iron. Now it fits neatly on the Arduino:
I'm dreading the next stage, wiring up...
No comments:
Post a Comment